Renegade Crowns showed up as a not-very-competitive army that didn’t seem to fit the meta, just like plenty of other “infamy” armies (Slayer Hosts, etc.).
But… what if I told you someone has won a 3-round event with 26 players using Renegade Crowns?
The player Travis Cramb from Australia won ForceHammer with a classic, well-rounded list that has a bit of everything — and honestly, I think you’re going to like it. Which makes it even more impressive.
Update: The creator of this list got in touch with me and explained the full game plan behind it. It’s even better than what I originally wrote.
I’ve highlighted in bold the sections I’ve updated so you can spot them quickly.
Thanks a lot, Travis!
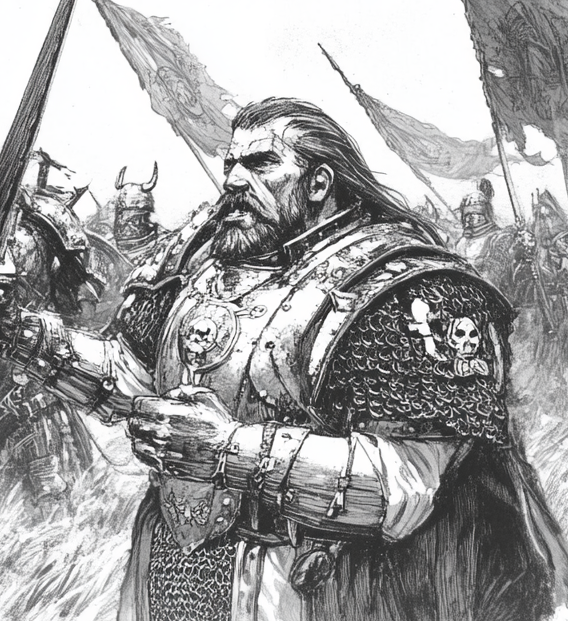
Renegade Crowns list — 2000 points (Warhammer: The Old World)
137 – Outcast Wizard, The Noble Outlaw, Warhorse, Wizard Level 1, Daemonology, Wizard’s Staff, Twin-Tailed Wand
180 – Outcast Wizard, The Might of Miragliano, General, Wizard Level 3, Dark Magic, Power Scroll, Lore Familiar
187 – Outcast Wizard, The Noble Outlaw, Warhorse, Wizard Level 3, Daemonology, Wizard’s Staff, Tome of Midnight
193 – Renegade Captain, Pistol, Light Armour, The Noble Outlaw, Repeater Pistol, Battle Standard Bearer, Griffon Standard, Twice-Blessed Armour, Charmed Shield, Ring of Taal
219 – Renegade Prince, Full Plate Armour, Shield, The Renegade Knight, Barded Warhorse, Cackling Blade, Talisman Of Protection
35 – 5 Empire Archers
100 – 5 Hireling Outriders, Brace of Pistols, Light Armour, Shield, Reserve Move
132 – 6 Hireling Outriders, Brace of Pistols, Heavy Armour, Shield, Reserve Move
84 – 12 Sellswords, Crossbow, Light Armour, Shield, Detachment
214 – 24 Sellswords, Halberd, Heavy Armour, Shield, The Mercenary Hosts, Officer, Standard Bearer
96 – 12 Sellswords, Great Weapon, Heavy Armour, Detachment
223 – 6 Veteran Freeblade, Lance, Shield, Full Plate Armour, Barded Warhorse, Veteran Commander, Standard Bearer, Monster Hunter’s Tapestry
100 – Border Princes Bombard
100 – Border Princes Bombard
Renegade Crowns list ideas. How do you play this list?
This list plays around two hard-hitting core blocks: a cavalry block with the mounted Renegade Prince, and an infantry block with 25 halberdiers and the Griffon Standard, where the Battle Standard Bearer always goes. On top of that, you add a bunch of support pieces that hit, score, and buy you time in different ways.
The point isn’t just “having magic”. It’s being able to cast from a safe distance, reposition, and chain pressure through charges, reactions, and support units placed properly. It’s a classic all-comers list — no double dragon and that kind of stuff we’ve been seeing a lot in The Old World lately — but it’s got combos that are absolutely real, and clearly real enough to win the event.
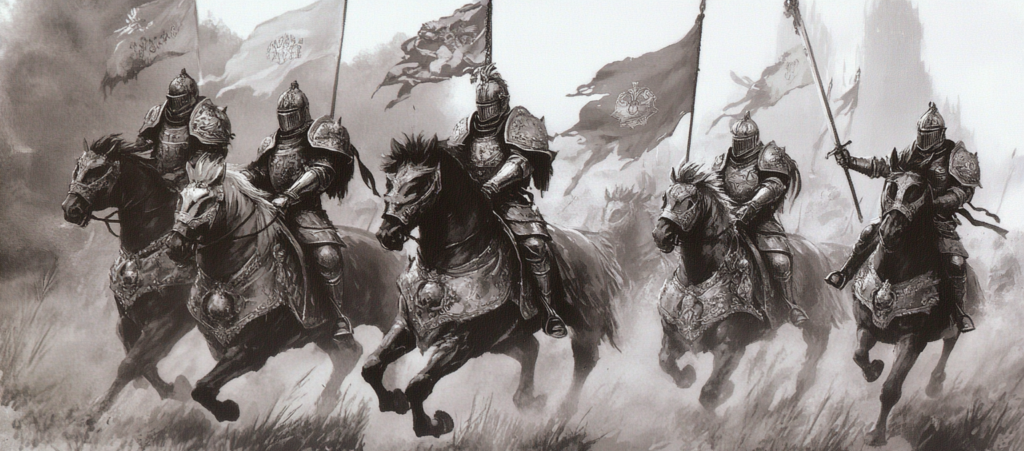
The two main blocks: cavalry and halberdiers with the Griffon Standard
The list has two strong blocks, one of them being the cavalry block. That’s where the mounted Renegade Prince goes, which also prevents the level 3 Demonology wizard from being shot at. For that to work, the wizard needs to stay close to the unit without actually joining it, since he is a Loner due to the Tome of Midnight he’s equipped with (thanks, Gregoire).
The main support for this block is the Hireling Outriders, because they can mess with enemy positioning so your knights get clean counter-charges.
The other main block is the infantry block: 25 halberdiers with the Griffon Standard, because the Battle Standard Bearer always goes in that unit. And besides the combat res bonus from the Griffon Standard, you’ve also got the character who can Stand & Shoot with his repeater pistol, and it’s a unit that can both receive charges and launch them — thanks to the weapon and magic combos we’ll get into.
Update: There aren’t many things in the game that can really deal with this unit. The player uses it to slowly advance up the board while casting spells (including throwing out Doombolt to chip away at enemy units) and keeping his detachments within 3 inches.
The Might of Miragliano (I hadn’t even realized this!)
This unit includes the wizard (who can be the general, since The Might of Miragliano gives him +1 Leadership, which makes the unit Leadership 10 thanks to the Warband rule).
It acts as a points bunker — the wizard is protected here while still performing his role.
You have to understand that a unit with the Griffon Standard has two main enemies: one is difficult terrain, and the other is the First Charge rule, because both prevent it from claiming its rank bonus in combat.
This wizard upgrade turns the main unit into Heavy Infantry (needing only 4 models instead of 5 to form ranks) and gives it Phalanx (meaning that even if it has more files than ranks, it is treated as being in Close Order instead of Marching Column, and it also becomes immune to the First Charge rule).
The fact that the unit is so deep in ranks allows the crossbowmen to sit further back, avoiding combat while still staying within 3 inches of their parent unit.
HERE’S THE KEY COMBO: The character grants Stubborn to the unit he joins (the halberdiers), and they in turn pass it on to their detachments. That means a detachment that gets charged can hold you in place long enough for you to receive a strong countercharge.
Spoiler: in the “Magic” section you’ll see that this combo doesn’t stop here.
But first, let’s talk about support units.
Support units: crossbowmen, great-weapon detachments, and artillery
This list has really interesting support pieces for both the infantry and the cavalry — and they hit surprisingly hard.
Backing up that 25-strong infantry block you’ve got a unit of 12 crossbowmen and a unit of 12 with great weapons. They’re not just support: they also have the Detachment special rule, so if the main block gets charged, the great-weapon detachment can counter-charge and the crossbowmen can Stand & Shoot as a reaction, as long as they’re within the required distance.
Normally you’ll deploy both detachments a bit behind if you want them doing that job. But depending on the scenario and the mission, they can split off from the parent unit and go grab an objective (they’re over Unit Strength 10).
Also worth adding: the crossbowmen save on a 4+ in close combat, which is no joke. So they can take a charge from light troops without issues: the Stand & Shoot casualties + 4+ save + fighting back in two ranks means an eagle or light cavalry is going to think twice before diving into them.
You’ve also got artillery support: two Border Princes Bombards, which are better than a regular cannon.
I’ve suffered these a lot when playing into Exiled Bretonnia.
Quick note — I’ve said this plenty of times: unless a unit has a very specific job (like carrying a particular magic banner, or joining the classic dragon-character charge), paying for a command group in a support unit — or in a unit that’s likely to lose fights — usually doesn’t make much sense.
This list is a great example of saving those points.
But do you know which support piece I liked the most in the list?
Hireling Outriders with pistols: why they’re a key piece
On top of everything else, two support units are genuinely crucial here: the Hireling Outriders with pistols.
Let me explain how they work and what they bring to the table.
They have two moves: their normal move and Reserve Move.
On the normal move, they position to shoot — ideally at close range — because they only take a -1 for Multiple Shots, since they don’t take any penalty for moving. That’s 2 shots each, hitting on 5+, at Strength 4, AP 1, with Armour Bane… that stings.
After they shoot, the second move is for blocking, screening, or ducking into safety.
It’s also worth noting that the player didn’t give them the option to automatically rally after fleeing as a charge reaction. That rule is Feigned Flight. Probably because it would make the unit more expensive than he wanted.
And as if that wasn’t enough, the Outriders can also Stand & Shoot with their brace of pistols before they flee (Fire & Flee), regardless of how far the charging enemy is (Quick Shot).
So after they reposition with that Reserve Move, they can even park right in front of an enemy light unit, take the charge, do damage, and win the fight (they’ve got 2 attacks each in combat thanks to the brace of pistols).
One important detail: you really want this unit deployed in Skirmishers formation rather than Open Order.
Reason being: once they’ve shot, a lot of the time you’ll want the Reserve Move to go sideways or backwards — and that’s how you get those 8 inches without awkward movement issues.
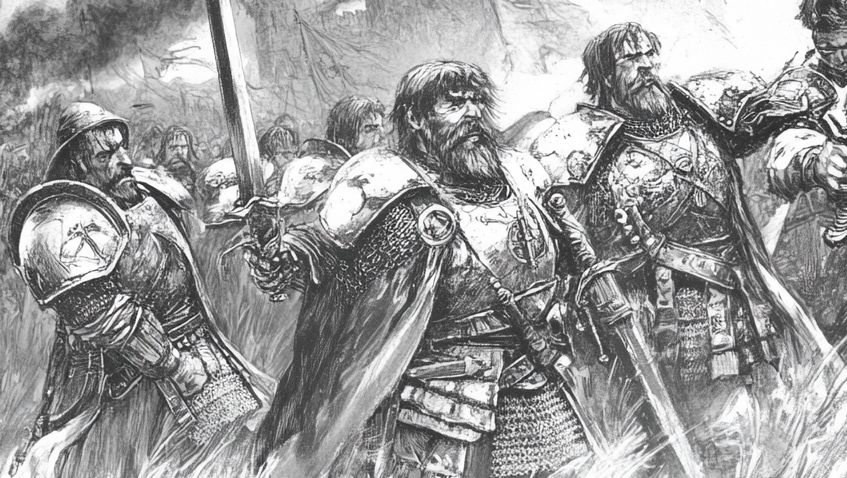
Magic in Renegade Crowns and the combos it enables
My favourite wizard: the suicidal Level 1
We know the Daemonology magic missile — your signature spell (the default spell you always have) — is very strong, but it has a fairly high casting value (9) and a short range (18″).
And this Level 1 wizard in the list — who might look harmless at first — fixes those problems beautifully.
This Level 1 always has the signature spell, and thanks to his magic item combo it’s one easier to cast: so he’s casting it on a 7+. On top of that, he can cast the magic missile twice.
For the points, you honestly can’t ask for more.
There’s also a small extra combo here that’s pretty funny: Outcast Wizards roll twice on the miscast table and keep the worse result.
But this wizard never rolls on that table, so he dodges that completely.
Instead, he loses 1D3 wounds and probably dies, because he has 2. 🙂
Level 3 with Dark Magic — why?
Why take Dark Magic when it has a bunch of terrible spells?
With Lore Familiar, that changes.
When you get to choose, the combo is incredibly powerful: Word of Pain, Battle Lust, and Doombolt (confirmed by Travis, the mastermind behind this beauty).
That way you buff the unit that’s about to fight, while also reducing the enemy’s Strength and Toughness.
Update: Remember how Stubborn transfers from the parent unit to its detachments?
Well.
It turns out that Hatred and Frenzy also transfer from the parent unit to its detachments. So, aside from being able to boost the cavalry when needed, he could potentially buff three units at once. It’s brutal.
Level 3 with Daemonology — why?
With this lore, the Daemonology wizard, together with the Tome of Midnight for 30 points, casts with +3 on all spells except assault spells — and, most importantly, the magic missile, which he casts on +4.
He also knows 4 spells instead of 3, even though he can only cast 3. That lets him choose which 3 to throw out.
What spell is the player really fishing for? Mainly Steed of Shadows, to launch the main infantry unit 24″ flying straight into the enemy’s face.
In addition, the other strong options are the Magic Missile, the curse that gives –2 to Leadership and Initiative, and the 6, Demonic Vigor (mainly for the cavalry unit).
Flying, bloodthirsty, immortal halberdiers
Between the two wizards, the combo is basically this: a halberd unit that re-rolls to hit and has Frenzy (from Battle Lust), that lands in your face because it flies 24″, and it gives you two options:
If you charge them, they take the charge fighting in two ranks, saving on 3+ thanks to parry, and re-rolling to hit (and the character Stands & Shoots). On top of that, they’re going to win the fight on combat res thanks to the Griffon Standard.
If you don’t charge them, they charge you with the same number of attacks they’d have in two ranks (thanks to Frenzy), but hitting with Strength 4, armour-piercing, re-rolling to hit. And obviously the Griffon Standard works here too.
You choose.
Details that seem minor but win games
Something really interesting is that all Outcast Wizards give Magic Resistance (1) to the unit they’re in.
It seems like “just -1”, but sometimes that’s the difference between an enemy spell going off or not.
The movement phase also pairs really well with this army’s magic, because your wizards can join (especially the Level 1) a unit of Hireling Outriders to gain Reserve Move. And if you don’t know how that works, I’ll leave it here — but as long as the majority of the unit has it, the whole unit can do it.
That lets the wizard move up to get into casting range and then hide — obvious — but it also lets him step out of the enemy wizard’s dispel range during his own movement phase, fire off the magic missile, and then step back in. That way, when it’s the opponent’s turn, the Renegade Crowns player is back in range to dispel their spells.
Can you replicate this list if you play Empire?
In general, you can play the list, because the models it uses are basically Empire models. But personally I think the downsides are so big that it’s not worth it.
If you want to run it, you have to adapt some things because points costs vary and certain options can’t be taken in the same way.
Let’s break it down.
Empire advantages
They don’t need to pay for a battle standard bearer to include the Griffon Standard.
They can bring wizards on pegasi and upgrade them to Level 4.
If you make room, you can include a Steam Tank.
Renegade Crowns advantages
Because you can give 75 points of magic items to a Level 1 wizard, you unlock the suicidal wizard combo I explained. Empire can’t, because the combo costs 60 and they can only give 50 points of magic items to their wizard.
Unlike Empire, their riders are Core.
Their main unit of 25 halberdiers can buy heavy armour; Empire halberdiers only get light armour, and they aren’t Warband.
Their melee detachment can take great weapons with heavy armour. The closest Empire can get is basically just… more halberdiers.
The crossbowmen can take shields and therefore get that parry they desperately need to hold up in combat. Empire crossbowmen only have light armour.
Their outriders aren’t Impetuous, they can take shields, and they have Reserve Move, plus they’re Core. Way better than the Empire version.
Final thoughts
Overall, I find this a really fun list — a really nice-looking list — that reminds me of older times when people didn’t sharpen their armies quite as hard.
And on top of that, it clearly has potential, because if it didn’t, it wouldn’t have won the event.
Congrats to Travis Cramb — seriously, respect for turning up to a tournament with a list like this, and thanks for showing it to the rest of us (not just the list, but what you’re capable of doing with it).
That said, I obviously think there are armies that sit way above Renegade Crowns in the current metagame, and you see them far more often.
And maybe the fact you don’t see Renegade Crowns much is one of the strengths of this list: the opponent isn’t used to them, doesn’t really know how they work, and you can catch them off guard — or simply their list isn’t built to handle something that isn’t common.
If you liked this post, you will love these ones:
How to Build Your First Warhammer: The Old World List (2026)
New Recruit vs Old World Builder: Best List Builder for Warhammer The Old World in 2026
Renegade Crowns in Warhammer: The Old World (War of Settra’s Fury)

Scouts in The Old World | Best deployment ever?

Is Vanguard useful? Warhammer The Old World
Army of infamy that is ACTUALLY good? Cathay Warriors of Land and Field
Any error in the post, feel free to reach out at theoldwarrior@theoldwarrior.com.
