War machines are, along with the axe, the ultimate symbol of the Dwarfs.
Except for the Royal Clan, but we won’t talk about them today.
Today we’re diving into how to really make the most of your dwarf artillery—and which ones are so horrifically bad that not even Burlok Damminson himself could make them work.
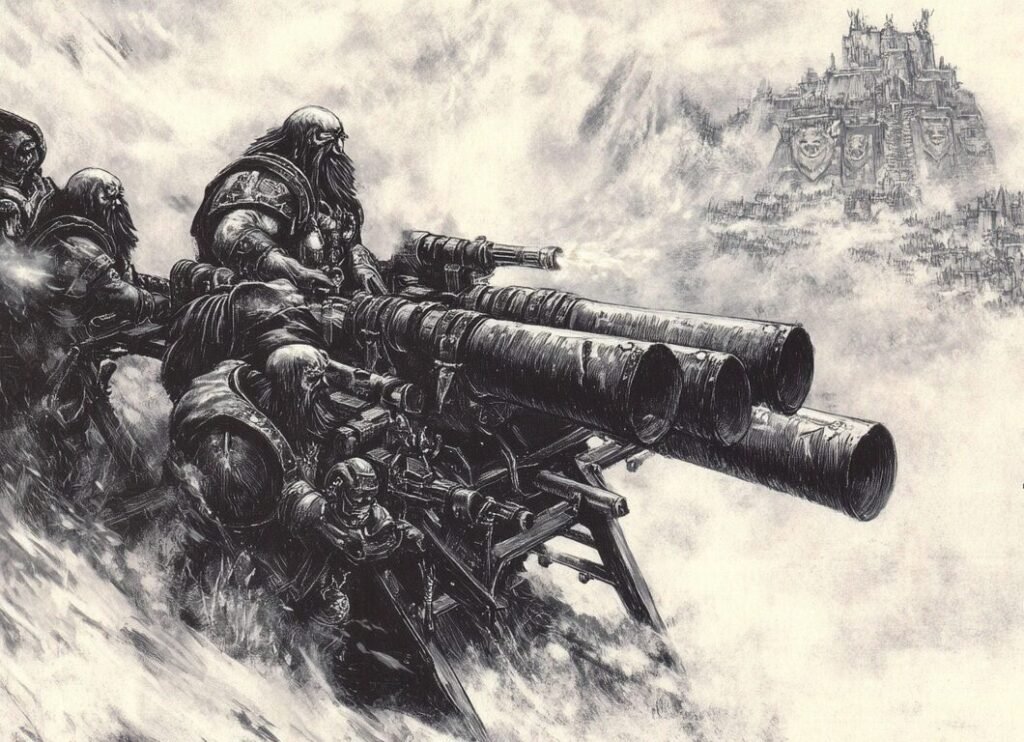
What war machines do the Dwarfs have in The Old World?
They have the Cannon, the Grudge Thrower, and the Bolt Thrower as special units, and the Organ Gun, the Goblin-Hewer, and the Flame Cannon as rare units.
All of them can benefit from a rule that keeps them from getting wiped out, both in combat and against shooting. It’s the following:
The rulebook states that you can pivot your war machine before shooting it, without any penalty. That means if we place the war machine right at the edge of a forest or a hill, WITHOUT TOUCHING the terrain, the enemy can’t see you—but you can’t see them either.
The trick here is to pivot the machine on your turn, so that one of the corners of its base ends up inside the terrain, just as shown in the image. This way, you choose whether you’re visible or not, and whether you can see or not.

This allows you to deploy the machine hidden so it doesn’t get shot off the table and lose your precious cannon on turn 1 before you’ve even fired it. Then, you can fire in your own turns until you see it’s in danger of being charged.
Once this principle is clear, let’s go machine by machine.
Dwarf Bolt Thrower
How does the Bolt Thrower work in TOW? It’s different from Warhammer Fantasy.
You roll one die to hit. If it hits, it causes one hit for each rank of the enemy unit (if you hit the flank, then one per column).
The number of hits is fixed; it doesn’t depend on killing the first model to continue, unlike Warhammer Fantasy.
Armor penetration remains the same, while Strength decreases by 1 with each hit. So if the bolt hits a unit with 3 ranks, there will be one hit at S6, another at S5, and another at S4. All of them have -3 to armor saves and cause multiple wounds.
The Dwarf Bolt Thrower can take a rune (which was mandatory back in 7th edition) that gives it +1 Strength. That brings it to Strength 7 and removes armor saves entirely, instead of just -3.
Is that useful? Yes.
Is it mandatory? No.
Its cost increases from 55 points to 75—a big jump. It depends on how well you can fit it into your list.
This means it’s not just useful for wounding big monsters (usually on 3+), but also because when shooting into ranks, every hit benefits from that extra Strength. If you hit the flank of Dragon Ogres, you’ll slice through them like butter.
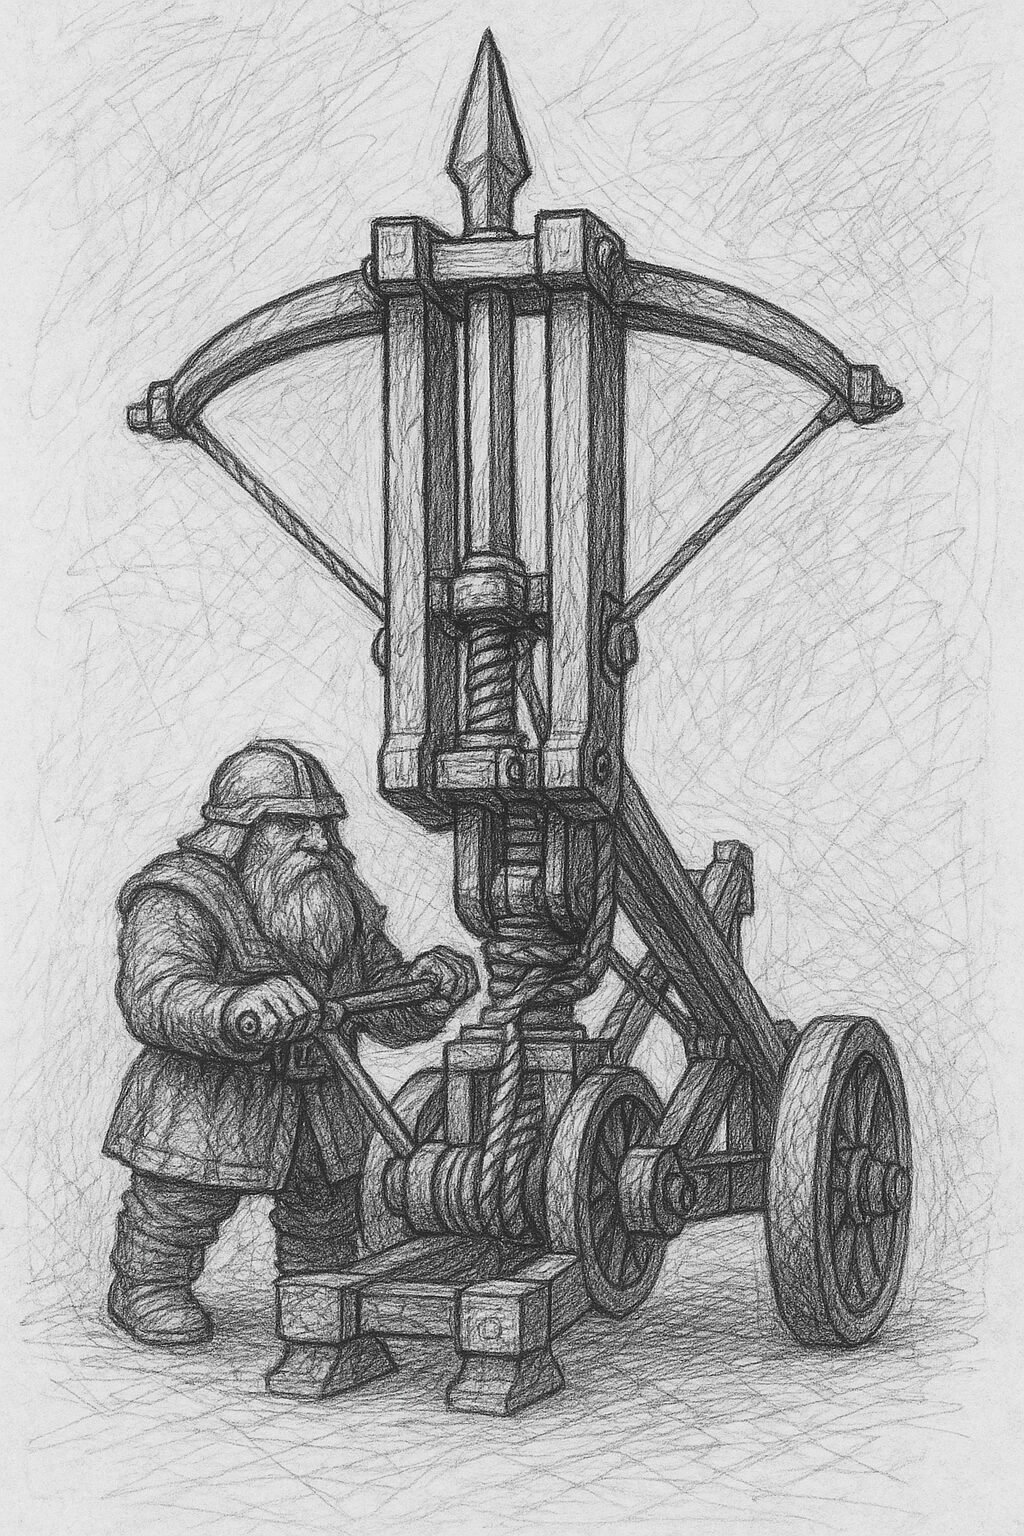
This is Fraquito.
He’s my friend’s Bolt Thrower engineer,
but he never manages to hit anything.
Update with version 1.5: The rune is now a bit less interesting, since you’re not likely to run into 2+ armor monsters, so paying to completely ignore armor instead of just giving -3 isn’t as valuable anymore.
On the other hand, ranked infantry is more common now, so the bolt thrower doesn’t just have good targets in cavalry flanks, monstrous units, or monsters—it’s now also worth firing a bolt straight into the front of a Black Orc unit, since you can easily make its points back in one turn.
Is the bolt thrower playable? Yeah, it is. Even with the rune, it’s still cheaper than the one the Elves get. You could say that, like a lot of other units, it’s one of those that are playable but not mandatory in Old World 1.5—which I think is great. Units like this are a good sign that the game is in a healthy place.
But remember: you need to roll to hit, and in this edition it’s very easy for enemy models to get cover unless they’re a Large Target.
How do you avoid having to roll to hit? By buying a…
Dwarf Grudge Thrower
As for the Grudge Thrower, there are important differences in this edition. While before you could place the template over any part of the enemy unit you wanted, now the rulebook says you must place it in the center of the unit. Only one model is hit at double Strength. And remember, partial hits connect on a 4+.
It uses the small round template. From where you place it, roll an artillery die and scatter it in the direction of the arrow shown on the die. You have two options here:
Option 1: Direct fire with line of sight.
If you roll a hit while seeing the enemy, the template stays exactly where you placed it—no scatter.
Option 2: Indirect fire.
If you can’t see the enemy, you can still choose them as a target, and this becomes very interesting when combined with the pivoting rule (on the turn you need to hide the Grudge Thrower, you can still shoot it—and that’s when you go for that wizard hiding behind a hill).
If you shoot indirectly and roll a hit, the stone still scatters (in the direction of the small arrow), but it scatters less. Instead of moving the full amount rolled on the die, you subtract the crew’s Ballistic Skill from the result.
While the Dwarf Cannon isn’t going to lose its spot in most lists, the Catapult is gaining traction in 1.5 because it’s a natural counter to infantry blocks—they take a while to reach it, and it can do serious damage to them in the meantime.
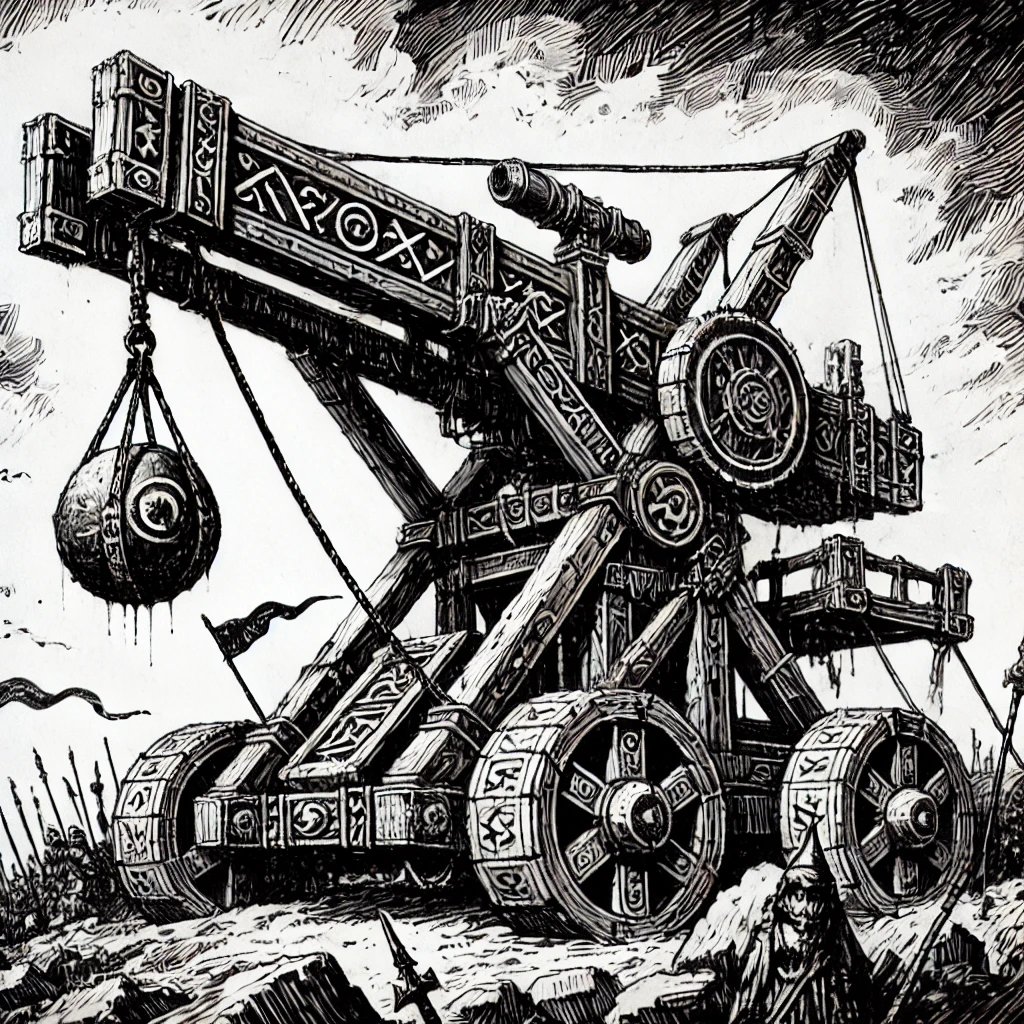
Dwarf Cannon
Comparisons are often frowned upon, but here, they must be made.
The Dwarf Cannon has Strength 8 and does D3 wounds with -2 to armor saves and Armor Bane 2.
The Imperial Cannon has Strength 10, does D3+1 wounds with -3 to armor saves and also Armor Bane 2.
Accepting this, the Dwarf version is much cheaper, and it can take the rune of reloading—which lets it fire even if it rolls a Misfire result that would normally prevent shooting next turn.
To maximize the odds of hitting, pick a VISIBLE point on the battlefield that is either 7″ from the front of the enemy unit or 10″ from the back.
Then, as usual, roll an artillery die to see how far beyond that point the ball lands, then roll again for the bounce to determine how many models it goes through. If the second roll is a Misfire, the cannonball embeds itself and stops moving. Large targets and hills stop the bounce immediately when touched.
Also keep in mind the cannon can fire grapeshot at 12″, which is really effective—even more than the Organ Gun in some cases—because of one very particular detail: it doesn’t have to roll to hit, unlike the Organ Gun or the Goblin-Hewer.
It causes a number of hits equal to the artillery die, at Strength 4 and -1 to armor. That’s more than enough to wipe out any light enemy infantry.
Heads up: the Cannon has no minimum range. It can fire a cannonball just an inch in front of its barrel if it wants to—don’t think you’re safe from getting blasted just because you’re standing right in front of it, or that it’s forced to switch to grape shot.
The one with minimum range is the Catapult—don’t get them mixed up.
Flame Cannon
Is it viable? The Flame Cannon is terrible.
And with that, I could just end the section.
But I’ll explain how it works. Because I’m just that nice.
How does the Flame Cannon work? Place the flame template with the narrow end touching the Flame Cannon’s base and the wide end pointing at the enemy unit (so you can choose its direction within limits).
Then, move it up to a MAXIMUM of 12″ toward the target.
Now roll a die in inches. If you don’t roll a Misfire, move the template the exact number of inches rolled (you don’t get to reduce the distance this time). That’s where the template is placed.
The problem is you have to make the aiming decision before knowing how far it will go.
On top of how hard it is to aim properly, the flame template in this edition does have partial hits. So due to its thin shape and the increased base sizes in The Old World, it’s incredibly hard to land a full hit on anything. Most hits will be partial, and it’s extremely hard to cause damage—despite having Strength 5.
The Flame Cannon would be more playable if:
- You could choose its facing 360º.
- You could pick the final placement after rolling the distance, not before.
Of course, if you roll a Misfire while rolling for the advance, the cannon misfires. It’s nowhere near as reliable as a Bolt Thrower.
Does the Flamethrower get better in TOW 1.5? You could say it does—but honestly, I don’t think it’s enough. Hard pass.
Organ Gun and Goblin-Hewer
Which one’s better? The short answer: NEITHER.
And that’s simply because they have to roll to hit in a game where any idiot can hide just the tip of their base behind another friendly model to get cover. It’s ridiculously hard to hit and actually deal damage with these machines.
Heads up: in a game environment where people don’t use redirecting units or screening, it can actually do a lot of damage.
The difference between them: the Organ Gun rolls two artillery dice, and that’s the number of shots. Strength 5, -1 to armor saves, Armor Bane 2, 30″ range.
The Goblin-Hewer rolls one artillery die plus 1D3 for each enemy rank (or column if hitting from the flank). That’s the number of shots. Strength 4, -1 armor, Armor Bane 1. It has a 36″ range (its only advantage over the Organ Gun—which can help it hit better since its short range threshold is 18″ instead of 15″).
It has Toughness 6 instead of 7 against shooting, and 2 Wounds instead of 3 in combat. So yeah…
The important part: has the Goblin-Hewer become good enough in 1.5? I don’t think so.
The thing is, Dwarfs have so many solid units to choose from that even if the Goblin-Hewer has improved, it might be playable, but it’s still not one of the top picks in the book.
It’s almost laughable, really, that the war machines occupying Special slots are far more playable than the ones that are Rare choices.
In any case, I hope this breakdown was helpful, whether you play Dwarfs or find yourself facing them across the table.
If you’ve read this far—respect.
I’ll leave a link below to the full Dwarf section, where you’ll find more posts about things you probably didn’t know about Dwarfs in TOW.
Dwarf Tier List in Warhammer The Old World: what is worth it and what is not

How to Shoot Characters in Warhammer The Old World (Complete No-Mistakes Guide)
Chaos Magic in Warhammer The Old World: Make it work
Any error in the post, feel free to reach out at theoldwarrior@theoldwarrior.com.

