
It’s been quite a while since I last shared a competitive army list on the site, and now might be the time to get back to analyzing army lists, with the 2026 Warhammer The Old World WTC World Championship behind us.
Some of the lists are familiar ones we’ve been seeing since earlier versions of the game, but others are pretty interesting. This Chaos Dwarf list, for example.
Seeing Chaos Dwarfs at a World Championship is unusual. They aren’t very common (Legacy armies other than Vampire Counts are a rare sight), and this list doesn’t even have an Iron Daemon, which makes it stranger still.
Let’s take a look at the Italian player’s list (Italy won the event):
2,000-point Chaos Dwarf list for Warhammer The Old World WTC 2026
152 – Infernal Seneschal, Heavy Armour, Shield, Battle Standard Bearer, The Lammasu’s Beard
295 – Sorcerer-Prophet, General, Wizard Level 3, Daemonology, Scroll of Binding, Lore Familiar, Arch-Lightning Rod
420 – Sorcerer-Prophet, Lammasu, Sorcerous Exhalation, Wizard Level 4, Elementalism, Armour of Meteoric Iron, Tome Of Spellcraft, Ruby Ring of Ruin
97 – 30 Hobgoblin Cutthroats, Shield, Boss
97 – 30 Hobgoblin Cutthroats, Shield, Boss
97 – 30 Hobgoblin Cutthroats, Shield, Boss
55 – 16 Hobgoblin Cutthroats, Shield, Boss
157 – 10 Infernal Guard, Shield, Deathmask, Standard Bearer, Overseer’s Sigil
120 – Deathshrieker Rocket Launcher
120 – Deathshrieker Rocket Launcher
210 – 35 Sneaky Gits
120 – 20 Sneaky Gits
60 – 10 Sneaky Gits
The context and restrictions this list was built for
Event format and structure
This list was built for an eight-player team, with matchups arranged before the games begin.
That lets you protect certain lists from bad matchups. For example, if someone on my team has no way to dispel spells, we can try to keep them away from an army with particularly strong magic.
This has a major effect on list building and can produce lists that look different from those at a singles tournament, where you can’t dodge a matchup, however bad it might be for your army.
The event also uses the WTC 2026 Tournament Rules Pack. The Matched Play Guide and Battle March aren’t used in full: only the sections explicitly referenced or incorporated by this Rules Pack apply.
General army restrictions
- The army list has a maximum of 2,000 points.
- A maximum of 500 points in a single character or unit.
- No unit can contain more than 50% of all the models in the army.
- Allied Contingents aren’t allowed, but Mercenaries are.
- You can include any number of Level 1 or 2 Wizards, but a maximum of 0–1 Level 3 Wizard per 1,000 points and 0–1 Level 4 Wizard per 2,000 points.
- A maximum of 0–4 cannons or units with a weapon that shoots using Cannon Fire.
- Any points left unspent below the 2,000-point limit are awarded to your opponent as additional Victory Points.
Limits by unit category
Unless an entry already has its own restriction:
- 0–3 Characters
- 0–4 Core Units
- 0–3 Special Units
- 0–2 Rare Units
- 0–2 Mercenary Units
Named characters are excluded from these limits.
Secondary objectives and victory conditions
Every game lasts six turns, with no Break Point or variable game length.
Every game has several secondary objectives in play at once, but the combination changes from round to round. This is crucial when analyzing a list, because armies are built with the exact objectives they’ll need to contest in mind.
| Round | Scenario | Secondary objectives |
|---|---|---|
| 1 | Supply Raid | Baggage Train + 3 Strategic Locations |
| 2 | The Gauntlet | Baggage Train + Progressive Special Feature + 2 Strategic Locations |
| 3 | Border Dispute | Baggage Train + 3 Treasure Troves + Domination |
| 4 | Perimeter | 4 Strategic Locations |
| 5 | Stepping Stones | 2 Strategic Locations + Domination |
| 6 | Frontal Assault | Baggage Train + 3 Strategic Locations |
So it isn’t enough to think about killing more points than your opponent: a list needs units that can hold, contest, defend, or attack different objectives across all six games.
Special line of sight rules
The WTC uses Simple Line of Sight.
Line of sight is checked from an almost top-down perspective: a model can see a target if you can draw a straight, unobstructed line from any point in its front arc to any part of the target’s base.
Models with Large Target only block line of sight for other models with Large Target. Hills and impassable terrain don’t count as Large Targets for this purpose, although terrain features specifically defined by the WTC as Line of Sight Blocking do block vision in the same way as a Large Target.
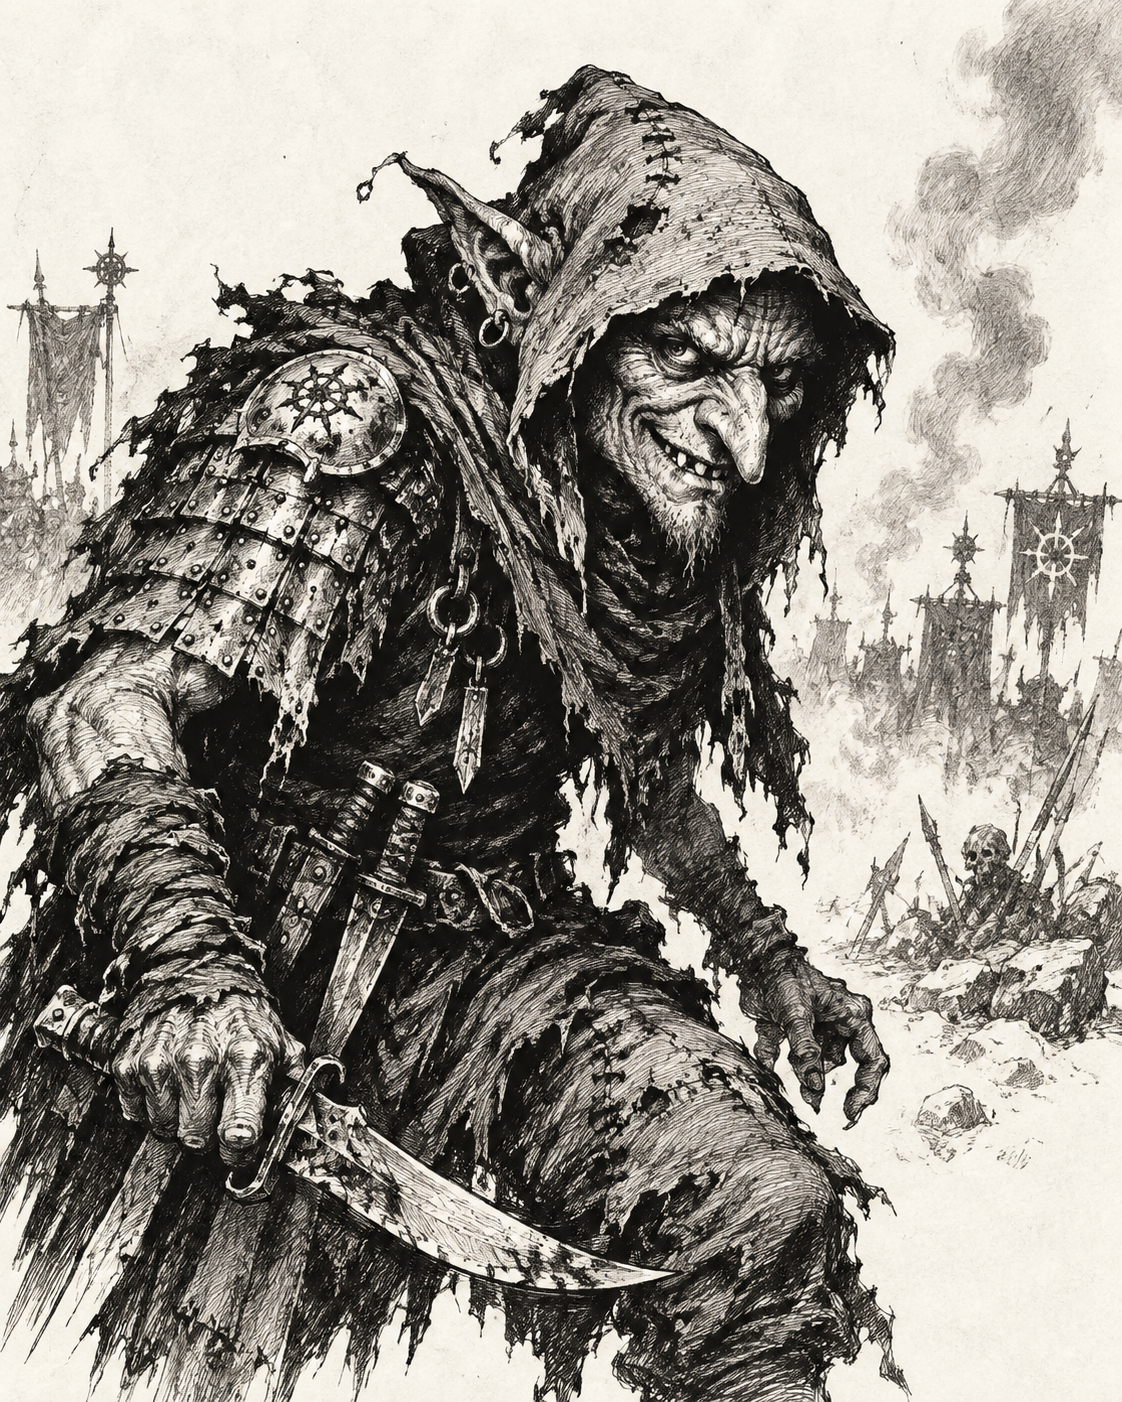
Looking at the list, there’s a huge Hobgoblin screen: 106 Hobgoblins in total. We try to protect them with shields rather than giving them bows, and with the Battle Standard Bearer, who grants his unit a 5+ Ward save against shooting.
It’s worth mentioning that the Infernal Guard unit is mandatory. What we can do, as this list does, is keep it at its minimum size of 10 and skip the ranged weapons, keeping it fairly cheap with just shields. It also lets us remove the Levies rule from nearby Hobgoblins.
These Chaos Dwarfs will probably sit behind the Hobgoblin screen to keep all the units within range. If we put them between the Hobgoblin units, some of those units would probably end up outside the banner’s range.
There are also 65 Hobgoblins split across three units. They might not look all that useful at first, but they have Ballistic Skill 4. Their very short range can essentially be offset by the wizard giving them Daemonology’s first spell, Steed of Shadows.
These Hobgoblins can serve several roles. The banner’s 5+ Ward save can make them very resilient against shooting, they’re relatively cheap, and, as I said, they can be a nightmare for fragile units and the usual lone characters.
They can also Flee as a charge reaction and then rally using the army General’s high Leadership, letting them move and shoot in their own turn.
The other option is to Stand & Shoot. Remember that 35 skirmishing Hobgoblins with Multiple Shots can see pretty much everything, and there’s no distance restriction on their Stand & Shoot reaction. That’s around 70 shots at any distance, and even at Strength 3, that sheer volume ends up doing quite a bit of damage.
The wizard’s job is to send one of these Hobgoblin units flying every turn. With three to choose from, he can place whichever one he needs wherever there’s room. Even with their small 25 mm bases, you can’t fit 35 Hobgoblins just anywhere or in every situation.
Meanwhile, the Level 4 wizard on a Lammasu with Elementalism can do a huge amount of ranged damage through magic missiles and the vortex.
As we’ve seen in an earlier post, Elementalism has some very interesting synergy. The most obvious example is Plague of Rust, which helps in combat, with shooting, and with magic. It’s fantastic.
Having the Tome of Spellcraft to repeat a spell each turn and cast Fireball in addition to his four spells makes the wizard on the Lammasu very interesting.
Bear in mind that he isn’t as durable as a wizard on a Great Taurus, because the bull has higher Toughness. But the Lammasu lets us keep his cost down and stay within the points limit, while also having a smaller base, if I remember correctly.
There’s also Sorcerous Exhalation, the Breath Weapon. It’s very interesting for a character who doesn’t intend to get into combat—notice that the wizard hasn’t even paid for the Darkforged Weapon Chaos Dwarfs usually take.
For just 15 points, it has Strength 4 and Armour Piercing -2. That’s pretty good for a model that, as we know, won’t be marching, because the wizard riding it wants to cast spells that prevent him from marching.
How do you play against this Chaos Dwarf list?
Sneaky Gits: one of the best aggressive combos in The Old World
Remember that, from the start of the game, the Chaos Dwarf player’s plan is to send a unit of Sneaky Gits at an important but fragile unit of yours. We’re talking about a character in the usual light cavalry bunker, a lone character, or something similar.
If you can put that character behind tougher troops, or simply measure the distance and keep them out of range, you can avoid this.
The key is to remember that the Hobgoblins will move 24 inches and shoot another 9. Add 9 to 24 and you get 33. Anything more than 33 inches from the unit is safe.
And that’s not all. By measuring their 33-inch reach right from the start, you can let some of them reach you without letting the whole unit do so. Against the big unit of 35 Hobgoblins, for example, I could place my light cavalry bunker 33 inches from just five of them—say, the five on one side of the unit. The reason is that shooting from five models doesn’t really worry me. In fact, I think this could bait the Chaos Dwarf player into committing: even if he causes a few casualties or wounds, he won’t achieve his real goal of destroying a unit, and he’ll be left exposed.
That said, since we don’t know who will take the first turn in this game, this matters a lot during deployment. Obviously, if he goes first, we can’t keep our entire army out of his shooting range; his reach makes that impossible. But we can protect the targets we know he really wants those flying Sneaky Gits to kill.
One of the Sneaky Gits units could also be a good candidate to arrive from reserve as Ambushers. The list can only send one Hobgoblin unit forward with Steed of Shadows per turn, so it can only threaten one specific target this way each turn (we need to use that limitation to our advantage). Meanwhile, Sneaky Gits arriving from reserve can be very useful depending on the map or the opposing list, destroying Baggage Trains and threatening flanks, war machines, and light cavalry. Remember that they can shoot on the same turn they arrive from reserve.
Beyond all that, what else can we do? What else should we keep in mind to beat this list, or at least stop it from scoring too many points against us?
Look at its other tool for scoring points. That’s the Lammasu with the Elementalism wizard.
Sorcerer-Prophet on a Lammasu: a ranged powerhouse
We should also keep fragile skirmisher units away from this model as much as possible, especially those with low Toughness that cost a lot of points.
This matters more during the game than during deployment. Since the character’s base isn’t particularly large, he’ll most likely deploy it after you’ve already put many of your units on the table.
Although the flame template generally isn’t very powerful in this game, that also means the other armies’ meta lists don’t pay it much attention or take particular steps to protect themselves against it.
Here’s something important, though: the Lammasu’s template is pretty strong.
It has Strength 4, and a good roll can easily wreck one of our units.
So before placing any target vulnerable to this attack during your Movement phase, always measure the Lammasu’s normal move plus the template’s reach.
Remember that it can’t march and shoot. That means you don’t have all that much range to keep track of. Its threat area isn’t that big.
How do you score points against this list?
With such big Hobgoblin units, this list has plenty of staying power. But some troops in the game can smash through blocks in just a few rounds of combat, especially when buffed with Daemonology or other spells.
For example, Battle Lust from Dark Magic grants Frenzy and Hatred.
Quickly destroying one of these blocks can give us access to where the Chaos Dwarf player has really invested his points: the wizards and the Chaos Dwarfs themselves (the Infernal Guard with the Battle Standard Bearer).
The Chaos Dwarf block is expensive in its own right, considering how quickly certain tools in our army can kill it.
That said, this is a fairly general point that also applies against many other armies with large numbers of light troops, such as Night Goblins or Bretonnian peasants in any of their forms.
There’s something else we need to avoid so we don’t hand the Chaos Dwarf player another tool: remember that the spell makes the Hobgoblins FLY. It doesn’t just massively increase their movement; it also lets them go over your troops or terrain if they need to.
We need to stop them from getting behind our units or onto their flanks, especially behind them. The Hobgoblins’ Backstab rule lets them reroll failed rolls To Hit in close combat when fighting a unit’s flank or rear. So troops with Strength 3 and Weapon Skill 3, which don’t look particularly powerful at first, can become dangerous through sheer numbers.
Still, those numbers aren’t just useful for making more shooting or combat attacks. They can also be a problem for the Hobgoblins. With a unit of 35, you have to find room for all 35 models. If you keep your units fairly close together, you can deny them enough space to fit everyone an inch away from your units, preventing them from moving into certain positions.
Another thing to remember is that, when you charge these units, their special rules always let them Stand & Shoot regardless of how far away they are. But we can use line of sight to stop all of them from doing so.
If only three models in the whole unit can see you when you declare the charge, for example, only those three can Stand & Shoot. That’s why it can often help to charge from an angle rather than straight ahead, trying to take advantage of the “flanks.” These units usually spend the game in a sort of diamond formation to maximize how many Hobgoblins can fire during their Shooting phase.
The Large Target trap
At first glance, Large Targets might seem like a great choice against this kind of Chaos Dwarf list, because it doesn’t have many high-Strength threats.
But when it comes to Large Targets, this list is deceptive.
If the target has Large Target, the whole Sneaky Gits unit can shoot it much more easily, because the models don’t block each other’s line of sight.
And a Large Target eventually goes down to that volume of fire. With 70 shots, even at Strength 3 and hitting on 6+, wounds get through, and they eventually bring your monster down.
So what could really counter this list? Giving the army several tempting targets at the same time.
Remember that the Chaos Dwarf wizard can only send one unit at you with Steed of Shadows each turn.
Offering multiple targets, overwhelming the list a little, and applying plenty of pressure can therefore be a good option. You’ll probably lose one of those targets, but you may be able to save the rest.
Beyond all that, something I think is crucial is always being within dispel range of the enemy wizard.
If the Chaos Dwarf player goes first, this is completely impossible, because he’ll already be making sure he stays outside your dispel range when casting Steed of Shadows.
On the key turn, probably the first, he can also use his scroll to cast it with three dice. Even so, a good dispel roll at any point can derail his strategy and have a major impact on the game.
So if we go first, we should place our wizard within dispel range of the enemy wizard, accounting not just for his current position, but also for the fact that he can move away from us before casting the spell, leaving us unable to dispel with that potential +2.
This list’s natural predator
Deathstar lists also have features that give this list trouble.
In those lists, the characters aren’t in fragile units; they’re inside a big, tough unit. It’s also quite common for that deathstar to destroy a Hobgoblin unit in one or two rounds of combat.
So you’d need to be very careful around it.
Deathstar lists usually have small support units too, though. The Sneaky Gits can wipe those out even if they don’t contain characters, chipping away at the opponent’s points. BUT I’d only do this if the Sneaky Gits unit stays protected and doesn’t put itself at risk by killing that support unit.
Trading it away isn’t a good idea, but you can still use it aggressively.
Possible changes to this Chaos Dwarf list
Instead of taking 10 Infernal Guard purely because you have to and only giving them shields in case they get into combat, you could give them ranged weapons.
I usually see them played with Fireglaives, which can also be used as halberds in combat: they give +1 Strength and improve their Armour Piercing by 1. But I understand that this combination makes each model quite a bit more expensive.
The banner that removes Levies isn’t mandatory and only appears in some builds. With so many units with that rule, it can make sense here, helping the infantry blocks pass their Leadership tests using the character’s Leadership 10.
Because yes, the Chaos Dwarf wizard has Leadership 10.
In a build where the General rides a flying mount and will move away from the troops, those are probably points you can save.
You don’t have to take so much Hobgoblin infantry. You could build the army more around the usual combination of Chaos Dwarfs and Black Orcs.
It also makes sense to take smaller units of around 12 or 14 Hobgoblins to claim objectives for very few points. Meanwhile, the rest of the army can play more aggressively and attack the enemy, stopping them from getting close enough to take those objectives away from the Hobgoblins.
The Deathshrieker Rocket Launchers can make sense in this build for team play. In general, though, they’re fairly expensive for the damage they do and how easy they are to kill.
Honestly, 120 points for three Wounds at Toughness 6 isn’t the best deal compared with other war machines in the game, such as Doom Diver Catapults, which are cheaper and more effective in the current meta.
The same goes for Hobgoblin Bolt Throwers, even at 45 points.
If you don’t want to play the flying infantry combo, another option is Hobgoblin Wolf Riders, a Rare Hobgoblin cavalry unit. You could use them to burn Baggage Trains, but I have to say they aren’t a great choice: they can burn Baggage Trains, but since they aren’t Core, they can’t hold objectives in other missions.
They can also redirect charges and act as a sacrificial unit, something the Chaos Dwarf army doesn’t have much of—or at least doesn’t have many fast options for. We can always bring a small Hobgoblin unit to sacrifice, but it doesn’t move very far.
Recommended miniatures for this Chaos Dwarf list
For the Chaos Dwarf wizard, I recommend this Age of Sigmar miniature, although there’s also this alternative. Both are very good options.
To represent the Infernal Guard, the Age of Sigmar dwarfs are a very good option if you don’t own the old Warhammer Fantasy models, which are no longer available to buy.
For both Hobgoblins and Sneaky Gits, I like the same models: the Kruleboyz grots. But using the same model for everything might be a bit shit, so, especially if you already have an Orc army, I’d use Night Goblins for the Core Hobgoblin regiments to make them easier to tell apart.
For the rocket launchers, the new Age of Sigmar Chaos Dwarf war machines can work very well if you like their look. Personally, I use some very old Confrontation models that you can’t find anymore.
I have to say that I wouldn’t know what to use for the character on a Lammasu, sorry. The Sigmar bull is too big and doesn’t fit the concept; I suppose you’d have to get something 3D printed.
For the Battle Standard Bearer, we can buy the new Sigmar character or go with the “cheap” option: use the standard bearer from the Age of Sigmar Chaos Dwarf box, perhaps with a conversion or simply raised up on a tactical rock to make him stand out a little more.
The Chaos Dwarf Spearhead can be a good option, but you will have a mechanical bull left over. You could use it as an Iron Daemon, though not in this list. It is only a good option if you want several army list options rather than just the models for this particular list.


It’s an interesting list for team play. For singles, there may be better options and a few changes you could make to help it handle a wider range of opposing lists.
But I think it can make a lot of sense for team play, filling a gap against lists with units that are generally hard to catch, yet fragile and worth a lot of points.
This also lets you try to avoid pairing the list into a deathstar, which is one of its tougher matchups.
Hordes of Chaos | New Army of Infamy | The March of Chaos Arcane Journal

NEW COMMON MAGIC ITEMS | Arcane Journal The March of Chaos
Warhammer Battle March: All the New OPTIONAL Content
Any errors in the post? feel free to reach out at theoldwarrior@theoldwarrior.com.